

Original price was: $13.99.$9.79Current price is: $9.79.
- Friendly, efficient service, always online.
- Safeguard Your Shopping Experience
- The best quality products, always.
- Fast, friendly, always here to help.

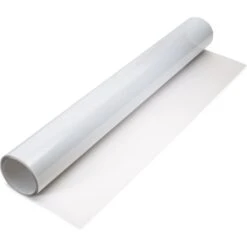
- Extender to bridge the gap between both sections of a Cat Mate Cat Flap when installed in a thick wall.
- Can be painted to match any existing wall color.
- Add more than one wall liner for a customized length.
- Easy to install in the wall and attach to the pet door for a stress-free process.
- Removes easily if you decide to change the location of the pet door.
Easily install your Cat Mate flap with Cat Mate’s Wall Liner. Add one or multiple wall liners to your Lockable Cat Flap, or 4-Way Locking Flap for any custom length. Each purchase comes with one wall liner that’s completely paintable, so you can get the perfect color to match your home. Best of all, if you decide you want to change the location of your pet door, the wall liner is easy to remove.
| Item Number | 75291 |
|---|---|
| Dimensions | 7.1 x 7.1 x 3 inches |
| Placement | N/A |
| Lifestage | Adult |
| Material | Plastic |
| Assembly Required | Yes |
Wipe Clean.
- Make a suitably sized hole in wall and line it with 19mm 3⁄4 inch plywood or similar material to take screws, as shown in Fig 1. (We recommend the bottom of the hole is approximately level with your pet’s stomach.)
- Determine thickness of wall (t).
- Determine number of Wall Liners required. (Use an additional liner for each 2 inch of wall thickness.)
- Assemble required number of Wall Liners on internal frame (frame without swinging flap). Cut length to wall thickness (t) + 1⁄4inch using a hacksaw, as shown in Fig 4. Use moulded lines as a guide to ensure a square cut.
- If desired, glue Wall Liners together using Superglue or ABS solvent adhesive. Place glue into outer joint(s).
- Attach interior frame and Wall Liners to inside of wall, using short 1⁄2 inch screws.
- Drill out four screw holes in exterior frame to allow close clearance on screws. (Recommended drill 3⁄16 inch diameter.)
- Position exterior frame on outside of wall and screw on using 3⁄4 inch screws. Finally, fit screw caps.
Be the first to review “Cat Mate Wall Liner”
Related products

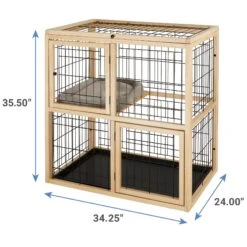
Crates, Pens & Gates

Crates, Pens & Gates

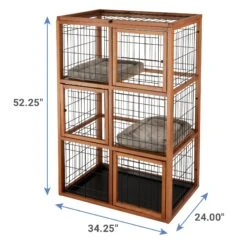
Crates, Pens & Gates

Crates, Pens & Gates

Crates, Pens & Gates

Crates, Pens & Gates

Crates, Pens & Gates
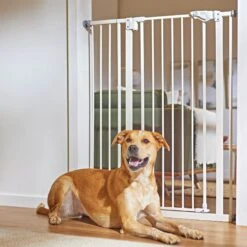
Cardinal Gates Indoor Banister Dog & Cat Shield Protector, Clear

Crates, Pens & Gates
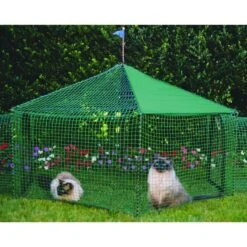
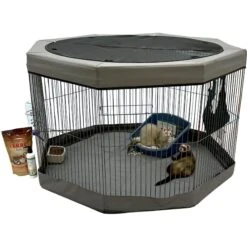
Marshall Skylight Cat & Small-Pet Playpen Cover, Gray, Medium
Reviews
There are no reviews yet.